


My Switch is full! What’s the best microSD card for expanding storage?

Running Out of Space on Your Nintendo Switch?
It’s a common gamer’s lament: you’ve downloaded a few big titles, maybe a bunch of indie gems, and suddenly your Nintendo Switch is screaming for more space. The console’s built-in 32GB (or 64GB for the OLED model) fills up surprisingly quickly, especially with modern game sizes. When you hit that wall, expanding your storage isn’t just an option; it’s a necessity to continue enjoying new games and updates.
Thankfully, the solution is simple and readily available: a microSD card. But with so many options on the market, how do you choose the right one for your beloved Switch?
Why a microSD Card is Essential for Switch Owners
Unlike some other consoles, the Nintendo Switch relies exclusively on microSD cards for external storage expansion. This means there’s no need for bulky external hard drives or complex setups. You simply pop a card into the dedicated slot, and your Switch handles the rest. This seamless integration makes microSD cards the most convenient and practical way to keep your digital game library expanding.
Key Factors to Consider When Choosing Your microSD Card
Not all microSD cards are created equal, and choosing the right one involves balancing a few key factors:
1. Capacity: How Much Space Do You Really Need?
This is often the first consideration. MicroSD cards come in a wide range of capacities, from 32GB all the way up to 1TB (and beyond). Consider your gaming habits:
- Casual Gamer (64GB – 128GB): If you mostly play physical game cartridges and only download a few digital titles or small indie games, a smaller card might suffice.
- Moderate Gamer (256GB – 512GB): This is the sweet spot for many. It offers plenty of room for a growing digital library without breaking the bank. Many AAA digital titles are 10-20GB, so 512GB can hold a substantial collection.
- Hardcore Digital Collector (1TB): If you exclusively buy digital games, plan to download every eShop sale item, or simply never want to worry about space, a 1TB card provides maximum peace of mind.
Remember, it’s always better to go a bit larger than you think you need. Games aren’t getting smaller, and running out of space again can be frustrating.

2. Speed: U1 vs. U3 and A1 vs. A2
While capacity gets the headlines, speed is crucial for a smooth gaming experience. A faster card means quicker game loading times and less lag when accessing game data.
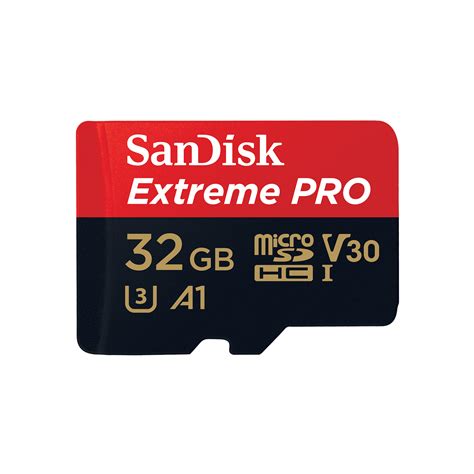
- UHS Speed Class (U1 vs. U3): The Switch supports UHS-I speed class. Look for cards with a ‘U’ symbol with a number inside. U1 (minimum 10MB/s write speed) is generally acceptable, but U3 (minimum 30MB/s write speed) is highly recommended for optimal performance on the Switch.
- Application Performance Class (A1 vs. A2): This rating indicates how well a card handles random read/write operations, which is important for applications and games. The Switch doesn’t officially support A2’s enhanced capabilities in the same way a smartphone might, so an A1 rated card is perfectly fine. However, many U3 cards will also have an A1 or A2 rating, indicating overall good performance.
Aim for a card that is at least a U3 class. Brands like SanDisk, Samsung, and Lexar typically offer cards that meet or exceed these requirements.

3. Brand Reliability and Authenticity
Purchasing from a reputable brand and a trusted retailer is paramount. There are many counterfeit microSD cards on the market that claim high capacities or speeds but deliver neither. Stick to well-known brands like:
- SanDisk: Often considered the gold standard, particularly their ‘Extreme’ and ‘Ultra’ lines.
- Samsung: Their ‘EVO Select’ and ‘PRO Plus’ series are excellent performers and reliable.
- Lexar: Another strong contender with good performance and value.
Always buy from official retailers or trusted online storefronts to ensure you’re getting an authentic product with a warranty.
Installation and Formatting
Once you have your microSD card, installation is straightforward:
- Power off your Nintendo Switch completely.
- Open the kickstand on the back of the console to reveal the microSD card slot.
- Insert the card with the label facing away from the screen until it clicks into place.
- Power on your Switch. The console will typically recognize the new storage and prompt you to format it if necessary. Follow the on-screen instructions.
Your Switch will automatically prioritize installing new games and downloads to the microSD card if it’s inserted and formatted correctly.
Conclusion: Make an Informed Choice
Expanding your Nintendo Switch storage is a simple yet essential upgrade for any avid gamer. By considering capacity, speed (aim for U3!), and choosing a reliable brand, you can ensure a seamless and enjoyable gaming experience without constantly worrying about running out of space. Invest in a good quality microSD card today and free up your Switch for endless adventures!


