Fix Switch Joy-Con drift: best DIY or repair kit?
Understanding the Frustration of Joy-Con Drift
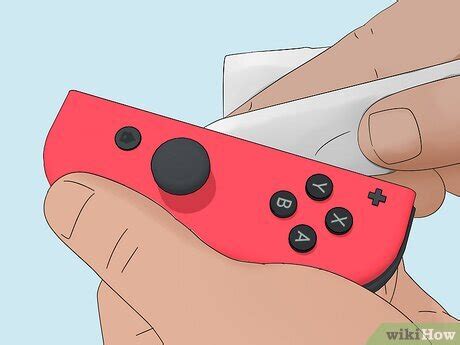
Few things are as maddening for a Nintendo Switch owner as experiencing Joy-Con drift. That phantom input, where your character moves without you touching the stick, or the camera pans erratically, can turn an enjoyable gaming session into a frustrating battle against your own controller. This pervasive issue affects countless Switch users, often manifesting after months or years of regular use. The underlying cause typically lies in the wear and tear of the analog stick’s internal components, specifically the potentiometers, or sometimes due to dust and debris accumulating within the mechanism.
While Nintendo offers official repair services, many gamers prefer a quicker, more cost-effective solution. This guide delves into the two primary avenues for fixing Joy-Con drift yourself: a pure DIY approach using common household tools or investing in a specialized repair kit. We’ll explore the pros, cons, and essential considerations for each, helping you decide which path is best suited for your skills and budget.

The Pure DIY Approach: Cost-Effective but Demanding
The DIY method is for the brave and budget-conscious. It involves acquiring the necessary tiny tools (Y-tip screwdriver, Phillips head, spudger, tweezers) and often relies on cleaning the existing analog stick components rather than replacing them. Some common DIY fixes include:
- Cleaning the Potentiometers: Opening the Joy-Con and carefully cleaning the contact points of the analog stick’s potentiometers with isopropyl alcohol. This can remove dust, grime, and oxidation that cause erratic readings.
- Shimming the Stick: Less common but sometimes effective, involves inserting small pieces of paper or cardboard to apply pressure to the potentiometer, ensuring better contact.
- Replacing Individual Components: For the truly adventurous, it might involve soldering tiny replacement potentiometers, though this is highly advanced and not recommended for most.
Pros of DIY:
- Lowest cost, especially if you already own the tools.
- Sense of accomplishment from fixing it yourself.
- Environmentally friendly as you’re not replacing parts unnecessarily.
Cons of DIY:
- Requires significant patience and a steady hand.
- High risk of damaging delicate internal components if not careful.
- May not be a permanent fix if the wear is extensive.
- Finding the correct tiny tools can be a hassle.
The Repair Kit Approach: Targeted Solution with Replacement Parts
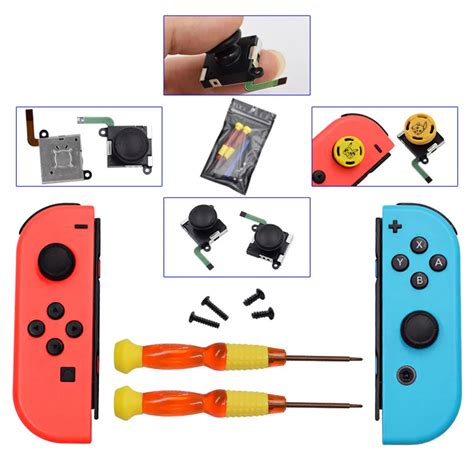
A specialized Joy-Con repair kit is often the more popular choice for those wanting a reliable fix without the deep dive into individual component cleaning. These kits typically come with:
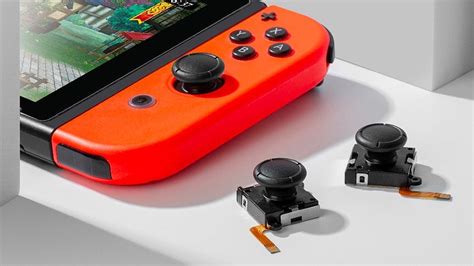
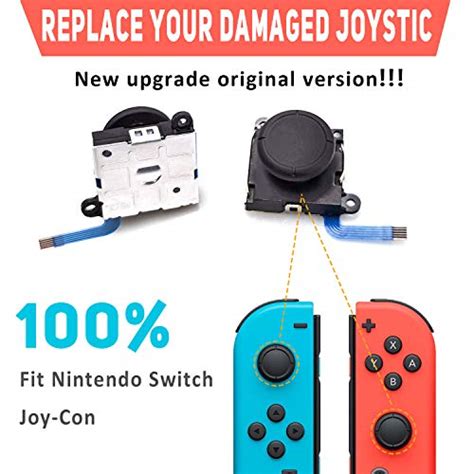
- Replacement Analog Stick Modules: The most critical component, often new and improved versions of the original stick.
- Precision Tools: The exact Y-tip and Phillips head screwdrivers needed, along with plastic spudgers, tweezers, and often suction cups.
- Clear Instructions: Step-by-step guides, sometimes with video links, to walk you through the process.
With a repair kit, the primary method involves completely replacing the faulty analog stick module with a new one. This bypasses the need for intricate cleaning and often provides a more lasting solution, as new parts are less likely to have existing wear.
Pros of Repair Kits:
- Higher success rate due to part replacement.
- Includes all necessary tools, saving time and effort.
- Often comes with clearer, user-friendly instructions.
- Can extend the lifespan of your Joy-Cons significantly.
Cons of Repair Kits:
- Higher upfront cost than pure DIY (though still far less than new Joy-Cons).
- Still requires careful handling and some technical aptitude.
- Quality of replacement parts can vary between manufacturers.

Essential Steps and Considerations for Any Repair
Regardless of whether you choose DIY or a repair kit, certain universal steps and precautions are vital for a successful outcome:
- Power Off and Disconnect: Always ensure your Switch is powered off and the Joy-Con is disconnected from the console before beginning.
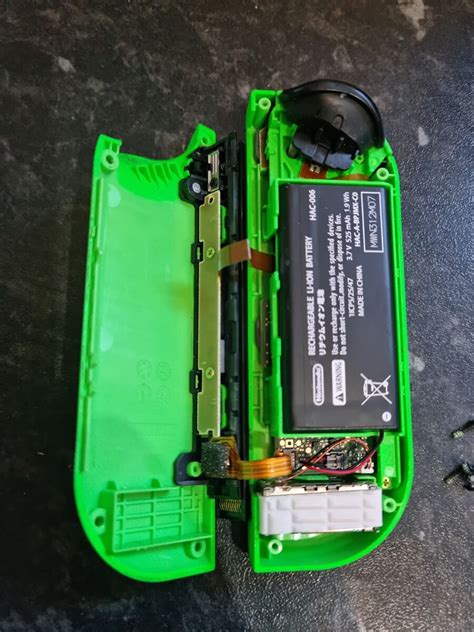
- Battery Safety: Be extremely careful when handling the Joy-Con’s battery. Do not puncture or bend it. Disconnect it before proceeding with other repairs.
- Static Electricity: Work in a static-free environment if possible, or ground yourself to prevent damage to sensitive electronics.
- Organize Screws: Keep track of the tiny screws! They are different sizes and easily lost. A magnetic mat or small containers are highly recommended.
- Follow Instructions Carefully: For repair kits, adhere strictly to the provided guide. For DIY, consult reputable online tutorials.
- Test and Calibrate: After the repair, reassemble the Joy-Con and test the analog stick in the Switch’s calibration settings (
System Settings > Controllers and Sensors > Calibrate Control Sticks). This is crucial to ensure the fix was successful and to fine-tune its performance.
Making Your Choice: DIY vs. Repair Kit
The decision between a pure DIY approach and a repair kit largely depends on your comfort level with electronics, your budget, and the nature of the drift issue:
- Choose DIY if: You’re confident with small electronics, have the necessary tools, and suspect the drift is primarily due to dust/debris that can be cleaned. You’re looking for the absolute cheapest solution and don’t mind the potential for a temporary fix.
- Choose a Repair Kit if: You prefer a higher chance of a lasting solution, want all the right tools provided, and are willing to spend a bit more for new, reliable replacement parts. This is generally recommended for most users encountering drift, especially if cleaning hasn’t helped or the wear is significant.
In many cases, investing in a reputable repair kit offers the best balance of cost-effectiveness, success rate, and ease of use for the average Switch owner. While a DIY cleaning might offer a temporary reprieve, replacing the faulty module often provides a more definitive solution to the dreaded Joy-Con drift.
Conclusion: Reclaiming Your Gaming Experience
Joy-Con drift doesn’t have to spell the end for your favorite controllers. With a bit of patience and the right approach, you can restore your Joy-Cons to their former glory. Whether you opt for a careful DIY cleaning or a comprehensive repair kit, understanding the process and taking necessary precautions will help ensure a successful fix, allowing you to get back to immersive gaming without unwanted inputs. Take the plunge, and banish drift from your Switch experience for good!