

How to free up Switch storage for more games efficiently?

The Nintendo Switch, with its ever-growing library of incredible games, often presents a common challenge to its owners: running out of storage space. Whether you own the original Switch, the Lite, or the OLED model, the internal storage (32GB for original/Lite, 64GB for OLED) can fill up surprisingly fast, especially with large digital downloads and frequent game updates. But fear not! Freeing up space for new adventures doesn’t have to be a daunting task. By following a few efficient strategies, you can make room for all the titles on your wishlist without losing precious game progress.
Understand Your Current Storage Situation
Before you start deleting, it’s wise to assess where your storage is being consumed. This will help you prioritize your actions and determine the most effective approach.
- From the HOME Menu, select System Settings.
- Scroll down the left-hand menu and select Data Management.
- Here, you’ll see a breakdown of your internal storage and any inserted microSD card, showing how much space is used by software, save data, screenshots, and videos.
This overview is crucial for identifying which games or media are taking up the most space.
Archive Software: The Go-To Method
Archiving software is by far the most efficient and safest way to free up significant space on your Switch. When you archive a game, the game’s data is removed from your system, but its icon remains on your HOME Menu, and more importantly, your save data is preserved. This means you can redownload the game at any time and pick up exactly where you left off.
How to Archive Software:
- From the HOME Menu, highlight the game you wish to archive.
- Press the + Button (or – Button).
- Select Data Management, then choose Archive Software.
- Confirm your selection.
This method is ideal for games you’ve completed or haven’t played in a while but might want to revisit in the future. It frees up space instantly without permanent loss of progress.
Delete Software: When You’re Done for Good
While archiving is generally preferred, there are instances where you might want to fully delete a game. This option removes both the game data *and* its icon from your HOME Menu, though it still preserves your save data (unless you specifically delete save data, which is a separate step). Use this for demos, games you’re certain you’ll never play again, or if you simply prefer a cleaner HOME Menu.
How to Delete Software:
- From the HOME Menu, highlight the game you wish to delete.
- Press the + Button (or – Button).
- Select Data Management, then choose Delete Software.
- Confirm your selection.
Remember, if you ever want to play a deleted game again, you’ll need to redownload it from the Nintendo eShop or reinsert its game card, and all associated updates will need to be downloaded again.
Manage Save Data: Proceed with Caution
Game save data is typically very small in comparison to the game itself, often just a few megabytes. However, if you’re truly desperate for space or have a particular game whose save data you no longer need (e.g., a game you played extensively on another system and don’t care about the Switch progress), you can delete it. Be warned: deleting save data is permanent and will result in the loss of all your progress for that specific game.
How to Delete Save Data:
- From the HOME Menu, select System Settings.
- Scroll down to Data Management, then select Delete Save Data.
- Choose the game whose save data you wish to delete.
- Select Delete All Save Data for This Software.
- Confirm your selection.
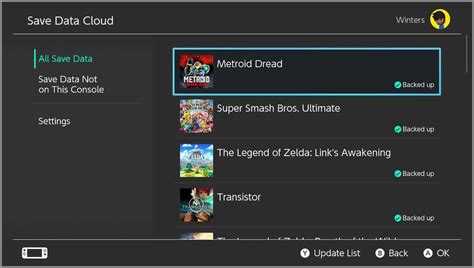
For games with Nintendo Switch Online cloud saves, your save data might be backed up, but it’s always best to double-check and understand the implications before deleting.
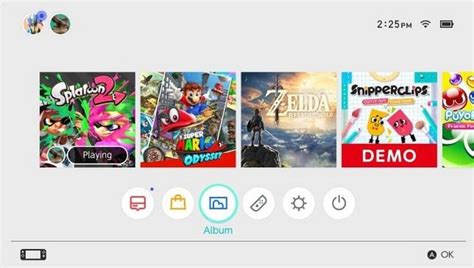
Clean Up Screenshots and Video Captures
While individual screenshots and video clips don’t take up much space, a large collection can accumulate over time, especially if you frequently capture epic moments. Reviewing and deleting unnecessary media can free up a surprising amount of space.
How to Delete Screenshots/Videos:
- From the HOME Menu, select Album.
- Select the screenshot or video you want to delete.
- Press the A Button to open options, then select Delete.
- You can also select multiple items by pressing Y on the Album screen.
Alternatively, you can transfer these files to a microSD card or even directly to a computer via USB, freeing up internal space while preserving your memories.
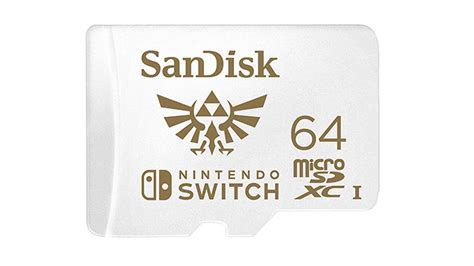
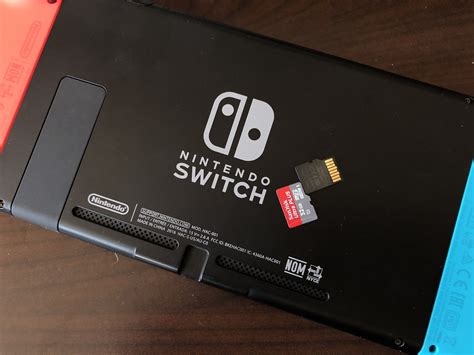
Expand Your Storage with a MicroSD Card (The Ultimate Solution)
For long-term storage relief and to avoid constantly managing space, investing in a high-capacity microSD card is the ultimate solution. The Nintendo Switch supports microSD, microSDHC, and microSDXC cards up to 2TB (though 1TB is currently the largest commercially available). This dramatically expands your storage, allowing you to download many more digital games and updates.
Tips for MicroSD Cards:
- Choose a reputable brand: SanDisk, Samsung, PNY are reliable.
- Look for U3 or V30 speed rating: This ensures fast loading times for games.
- Consider your needs: 128GB, 256GB, or 512GB are popular choices for most users.
Once you insert a microSD card, new downloads will automatically go there. You can also transfer existing downloaded software from your system memory to the microSD card via System Settings > Data Management > Move Data Between System / microSD Card.
Conclusion: Play More, Worry Less
Managing your Nintendo Switch storage effectively ensures you always have room for the next big adventure. By regularly archiving games you’re not actively playing, deleting unnecessary media, and considering a microSD card upgrade, you can maintain a healthy amount of free space. These simple steps will help you spend less time managing files and more time enjoying your vast game library.