


How to free up storage space on Nintendo Switch for more digital games?
The Nintendo Switch, with its vast library of digital-only titles and chunky game updates, can quickly fill up its internal storage. Whether you own the original Switch, the Lite, or the OLED model, managing your precious gigabytes is crucial for any avid gamer. Running out of space often means you can’t download that exciting new release or a critical game update.
Understanding Your Switch’s Storage Capacity
Each Nintendo Switch model comes with a limited amount of internal storage: 32 GB for the original and Lite, and 64 GB for the OLED. However, a significant portion of this is reserved for the system itself, leaving you with even less usable space for games. This makes a microSD card almost essential for anyone who downloads more than a handful of digital titles.
Before you start deleting, it’s a good idea to see exactly what’s taking up space. Go to System Settings > Data Management > Manage Software. Here, you’ll see a breakdown of your internal storage and any inserted microSD card, listing games by size.
1. Archive Software You Don’t Play Regularly
One of the easiest and most common ways to free up space without losing your game save data is to archive software. When you archive a game, the main game data is deleted from your system, but the game icon remains on your Home screen, and your save data stays intact.
Archive vs. Delete: What’s the Difference?
- Archiving: Removes the game’s core data but keeps your save data and the game icon. You can redownload the game at any time from the eShop or your user page. This is ideal for games you might want to play again later.
- Deleting: Removes the game’s core data, its save data, and the game icon. Only do this if you are absolutely certain you will never play the game again and don’t care about your progress. (Note: Nintendo Switch Online cloud saves can preserve some save data.)
To archive a game:
- From the HOME Menu, highlight the game you want to archive.
- Press the + (plus) or – (minus) Button on your Joy-Con.
- Select ‘Data Management’ > ‘Archive Software’.
- Confirm your choice.
2. Delete Unwanted Screenshots and Video Captures
Those epic screenshots and 30-second video clips of your greatest gaming moments can quickly accumulate, especially if you capture them frequently. While individual files are small, hundreds or thousands of them can consume valuable gigabytes.
To manage your media:
- From the HOME Menu, select the Album icon.
- Browse through your screenshots and videos.
- To delete a single item, highlight it, press A, then select ‘Delete’.
- To delete multiple items, press Y from the album view, select the items, then ‘Delete’.

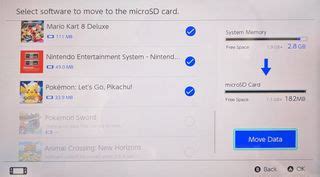
3. Move Downloaded Software to a microSD Card
If you already have a microSD card, you can move compatible software from your Switch’s internal memory to the card. This is especially useful if you initially downloaded games directly to the system before installing a card.
Unfortunately, the Nintendo Switch does not offer a direct ‘move software’ function. The most effective way to transfer games is to archive the game from the internal storage, then redownload it with the microSD card inserted. The system will prioritize installing new downloads to the microSD card if enough space is available.
Alternatively, if you’re upgrading to a new, larger microSD card, simply power off your Switch, remove the old card, insert the new one, and redownload all your games. New downloads will go to the larger card by default.
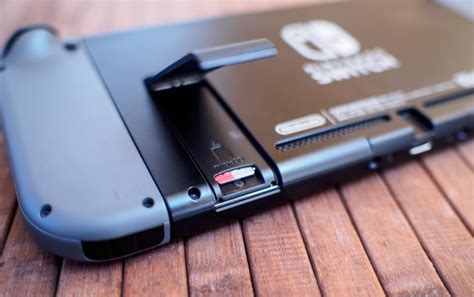
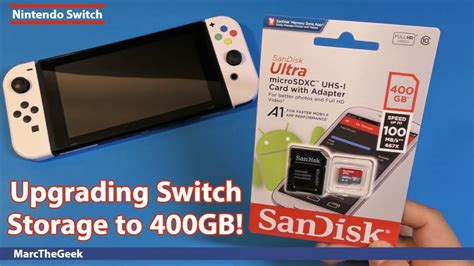
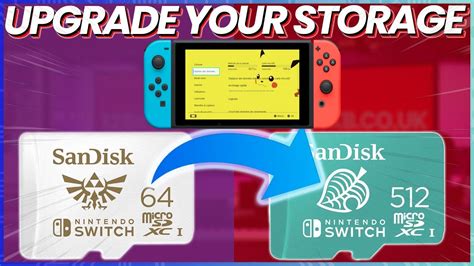
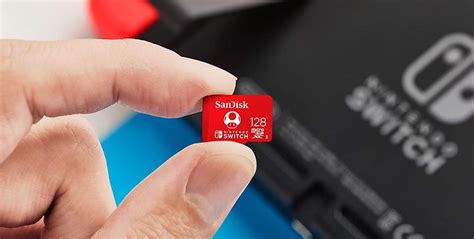
4. Upgrade Your microSD Card
For many Switch owners, the ultimate solution to storage woes is to invest in a larger microSD card. The Nintendo Switch supports microSD, microSDHC, and microSDXC cards up to 2TB. Given the ever-growing size of games, a 128GB, 256GB, or even 512GB card is highly recommended for anyone with a substantial digital library.
When choosing a card, prioritize reputable brands and look for cards with good read/write speeds (UHS-I compatible with a speed class of 10 or higher). To transfer data from an old, smaller card to a new, larger one:
- Power off your Nintendo Switch.
- Remove the old microSD card.
- Insert the new, larger microSD card.
- Power on your Switch.
- Redownload all your archived games. They will now install to your new, larger card.
5. Utilize Cloud Saves (Nintendo Switch Online)
While Nintendo Switch Online cloud saves don’t directly free up device storage, they offer crucial peace of mind. Your game save data is automatically backed up to the cloud, meaning if you ever accidentally delete a game’s save data locally (which is difficult but possible), or your console is lost/damaged, your progress is safe. This feature is part of the paid Nintendo Switch Online subscription.
Proactive Storage Management Tips
- Install to microSD by Default: Once you have a microSD card, ensure new games and updates are installed there. The Switch generally does this automatically if a card is present and has space.
- Regularly Review Software: Periodically check your ‘Manage Software’ list and archive games you haven’t touched in months.
- Be Mindful of Updates: Game updates can be sizable. Check the update size before initiating, especially if you’re low on space.
- Delete Unused DLC/Add-ons: Some games allow you to delete specific DLC or add-on content without deleting the entire game. Check individual game options.
Conclusion
Managing storage on your Nintendo Switch is an ongoing task, but with these strategies, you can keep your console running smoothly and always have room for that next must-play digital adventure. From archiving old games to upgrading your microSD card, a little proactive data management goes a long way in enhancing your Switch gaming experience.


