Switch storage full? How to free space for new games, big and small?
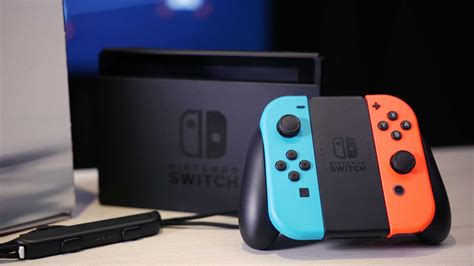
The Nintendo Switch, a fantastic console known for its versatility, often faces a common predicament for many gamers: full storage. With an ever-expanding library of incredible titles, from massive open-world epics to charming indie gems, it’s easy to hit that storage limit sooner than you think. But fear not, running out of space doesn’t mean you have to give up on your gaming dreams. There are several effective ways to free up room and keep your Switch ready for its next big download.
Understanding Your Switch’s Storage
Before diving into solutions, it’s helpful to understand what’s taking up space. Your Switch comes with 32GB (original/Lite) or 64GB (OLED) of internal storage, a portion of which is reserved for the system itself. Game downloads, updates, downloadable content (DLC), screenshots, and video captures all contribute to eating away at the remaining space. Digital titles, especially, can be quite hefty, with some AAA games easily exceeding 10GB or even 20GB.
Archiving vs. Deleting Games
This is often the first and most impactful step to free up space. The Switch offers two main options for managing game data:
- Archiving Software: This is a godsend for digital game owners. Archiving removes the main game data from your console but keeps its icon on your Home menu and preserves your game save data. If you decide to play the game again, you can redownload it from the eShop without losing your progress. This is ideal for games you might want to revisit but don’t need installed right now.
- Deleting Software: Deleting software removes the game data, its icon, and any update data, but crucially, it also preserves your save data. If you intend to repurchase a physical copy or truly want the game gone, this is an option. However, archiving is usually preferred as it keeps the game readily accessible for re-download.
To do this, navigate to System Settings > Data Management > Manage Software. Here you can see which games are taking up the most space and choose to “Archive Software” or “Delete Software.”
Managing Screenshots and Video Captures
Those epic in-game moments and hilarious glitches can quickly accumulate. Every screenshot and video capture takes up space on your internal storage or MicroSD card. While individual captures are small, hundreds or thousands can add up.
- Review Your Album: Go to the Album on your Switch Home menu. You can view all your captures here.
- Delete Unwanted Media: Hold the A button on a capture to select multiple, or press + to access options for individual captures. Delete anything you don’t need.
- Transfer to a Computer/Smart Device: For precious memories you want to keep off your Switch, you can connect your console to a computer via USB (System Settings > Data Management > Manage Screenshots and Videos > Copy to a Computer via USB Connection) or use the “Send to a Smart Device” feature for individual captures.
Clear Cache Data
Over time, your Switch can accumulate cache data from various applications and the eShop. While this usually doesn’t take up a massive amount of space, it’s worth clearing periodically, especially if you’re desperate for every megabyte.
Navigate to System Settings > System > Formatting Options > Clear Cache. This won’t delete save data or game information, but it will clear temporary internet files and browser history. Be aware that you may need to re-enter network passwords for certain services.
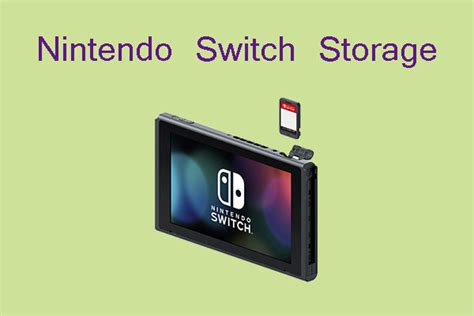
Expand Your Storage with a MicroSD Card
If you’re a heavy digital game buyer, the most robust and long-term solution is to invest in a MicroSD card. The Nintendo Switch supports MicroSD, MicroSDHC, and MicroSDXC cards, with MicroSDXC offering the largest capacities (up to 2TB, though 128GB, 256GB, or 512GB are popular and more affordable choices). This significantly expands your storage potential, allowing you to download many more games without worrying about internal space.
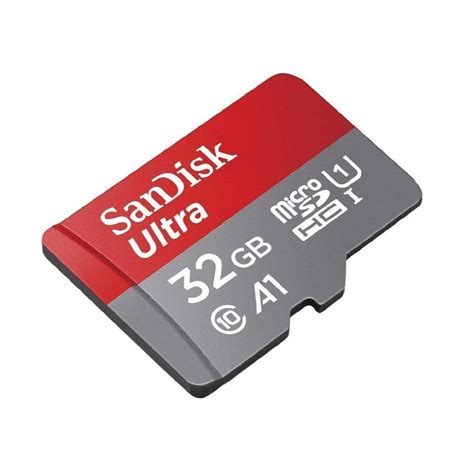
Once inserted, your Switch will automatically recognize the card. You can then move existing downloaded software from the console’s internal memory to the MicroSD card (System Settings > Data Management > Move Data Between System / microSD Card). New downloads will automatically save to the MicroSD card by default if it’s present and has space.
Future-Proofing Your Storage
To avoid frequent storage crises:
- Regularly Check Storage: Periodically check System Settings > Data Management to see what’s consuming the most space.
- Be Mindful of Digital Purchases: If you buy many digital games, a large MicroSD card is almost essential.
- Prioritize Downloads: If you have limited space, download games you plan to play immediately and archive others.
By implementing these strategies, you can effectively manage your Nintendo Switch’s storage, ensuring you always have room for the latest and greatest titles, whether they’re massive AAA releases or charming indie adventures.