


Optimizing Switch storage for digital games: SD card tips?
The Nintendo Switch, a marvel of portable gaming, has captivated millions with its versatile gameplay and ever-growing library of titles. However, one common challenge many Switch owners face is managing storage, especially for those who primarily download digital games. With game sizes continually increasing, the Switch’s internal 32GB (or 64GB for OLED models) quickly fills up. This is where an SD card becomes not just an accessory, but an essential component for any serious digital gamer. Optimizing your Switch’s storage means understanding how SD cards work, choosing the right one, and implementing smart management strategies to ensure your gaming experience remains seamless and frustration-free.
Understanding Switch Storage Basics
Your Nintendo Switch has two primary forms of storage: internal memory and external microSD card storage. All system software, save data, and screenshots are primarily stored internally. However, downloaded digital games, game updates, and DLC can be stored on either the internal memory or an inserted microSD card. Given that a single AAA title can easily exceed 10-20GB, relying solely on internal storage for digital purchases is impractical. A microSD card dramatically expands your console’s capacity, allowing you to carry a vast library of games wherever you go without constant archiving or redownloading.
Choosing the Right SD Card for Your Switch
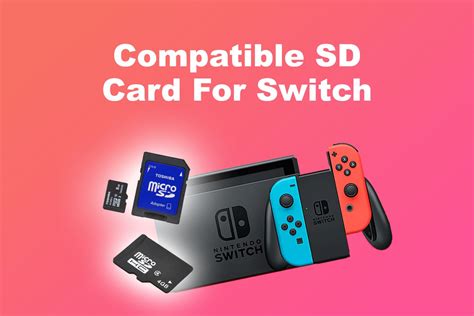
Not all SD cards are created equal, and selecting the right one is crucial for optimal performance. The Nintendo Switch supports microSD, microSDHC (High Capacity), and microSDXC (eXtended Capacity) cards. For most users, microSDXC is the way to go due to its larger storage capacities (up to 2TB, though 256GB, 512GB, or 1TB are common practical choices).
Speed Matters
Beyond capacity, an SD card’s speed rating is vital. The Switch supports UHS-I (Ultra High Speed Phase I) cards. Look for cards with a ‘U1’ or ‘U3’ rating, signifying a minimum write speed of 10MB/s and 30MB/s, respectively. While faster UHS-II cards exist, the Switch does not utilize their full speed potential, so investing in them offers no performance benefit and is usually more expensive. Stick to reputable brands like SanDisk, Samsung, or Lexar to ensure reliability and genuine performance.
Installing and Formatting Your SD Card
Installing an SD card is straightforward. Simply open the kickstand on the back of your Switch and insert the microSD card into the slot until it clicks. The first time you insert a new SD card, your Switch will prompt you to format it. This process prepares the card for use with the console and is essential. Formatting will erase any existing data on the card, so make sure it’s empty or backed up before proceeding. Once formatted, the Switch will automatically recognize the card and begin using it for new downloads.
Managing Your Digital Game Library
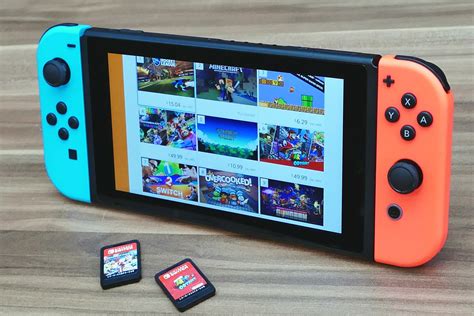
With an SD card in place, managing your games becomes much easier. By default, the Switch will download new games and updates to the SD card if one is present and has sufficient space. You can check your storage status by navigating to System Settings > Data Management. From here, you can see how much space is used on both internal memory and the microSD card.
Moving and Archiving Games
If you have games currently on your internal memory that you want to move to the SD card, or vice-versa, you’ll need to use the ‘Archive Software’ and ‘Download Software’ functions. The Switch doesn’t have a direct ‘move’ option for individual games. Instead, you can archive a game (which deletes its main data but keeps save files) and then re-download it. When re-downloading, if an SD card is present, the console will prioritize storing it there. You can also manually delete games to free up space. Remember, save data is almost always stored internally and is not deleted when you archive or delete a game’s software.
Advanced Tips for Storage Optimization
- Regular Checks: Periodically check your Data Management settings to keep an eye on your storage levels. This helps prevent unexpected ‘storage full’ messages.
- Prioritize Save Data: Since save data takes up minimal space and is crucial, ensure your internal memory always has room for it.
- Consider Multiple Cards: For extremely large digital libraries or collectors, owning multiple SD cards might be an option. While the Switch doesn’t support hot-swapping during gameplay, you can easily switch cards when the console is off.
- Delete Unused Screenshots/Videos: Screenshots and video captures can accumulate over time. Regularly review and delete any you no longer need.

Common Pitfalls to Avoid
- Fake SD Cards: Be wary of suspiciously cheap SD cards from unknown sellers. These often have fake capacities or poor performance. Always buy from reputable retailers.
- Removing Cards During Operation: Never remove the microSD card while the Switch is powered on or in sleep mode, especially if a game is running or data is being written. Always power off the console first to prevent data corruption.
- Ignoring Low Storage Warnings: Don’t wait until your storage is completely full to address it. Low storage can impact system performance and prevent game updates.

Optimizing your Nintendo Switch’s storage with a well-chosen SD card and smart management practices is key to a hassle-free gaming experience. By understanding the basics, making informed choices, and performing regular maintenance, you can ensure your digital game library is always accessible and your console runs smoothly, allowing you to focus on what truly matters: playing your favorite games.


