


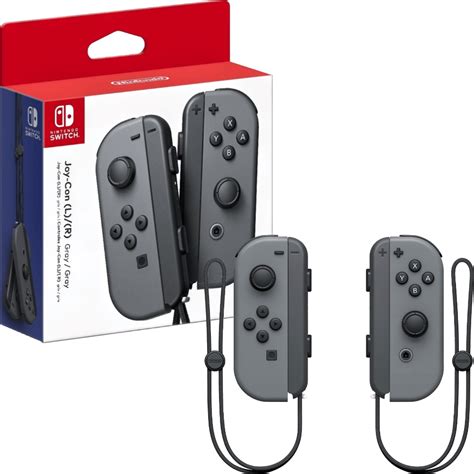
Nintendo Switch Joy-Con drift: DIY fix tips or warranty service options?

The Nintendo Switch Joy-Con drift phenomenon has plagued countless users since the console’s launch, leading to phantom movements and frustrating gameplay. This persistent issue, where the controller registers input even when the joystick is untouched, often leaves players wondering about the best course of action.
Understanding Joy-Con Drift
At its core, Joy-Con drift is typically caused by wear and tear on the joystick’s internal components, primarily the potentiometers that detect movement. Over time, dust, debris, or simple mechanical degradation can interfere with these sensors, sending erroneous signals to the Switch.

The DIY Repair Path
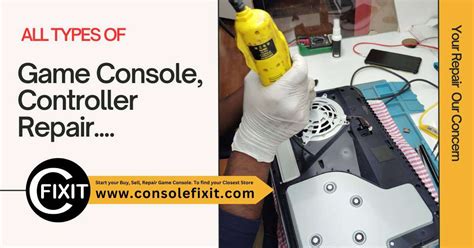
For those with a bit of technical inclination, attempting a DIY fix can be a cost-effective solution, though it comes with inherent risks. Several common DIY methods have proven effective for many users.
Cleaning the Joystick
Often, drift is due to accumulated dust or gunk beneath the joystick cap. Using compressed air or specialized electronic contact cleaner (like isopropyl alcohol-based solutions) can dislodge this debris. Carefully lift the rubber skirt around the joystick and spray a small amount, then work the stick in all directions. Ensure the console is powered off and let it dry completely before testing.
Recalibration
Sometimes, the issue is software-related. Navigate to System Settings > Controllers and Sensors > Calibrate Control Sticks. Follow the on-screen prompts to reset the stick’s neutral position. This is a quick and risk-free first step.
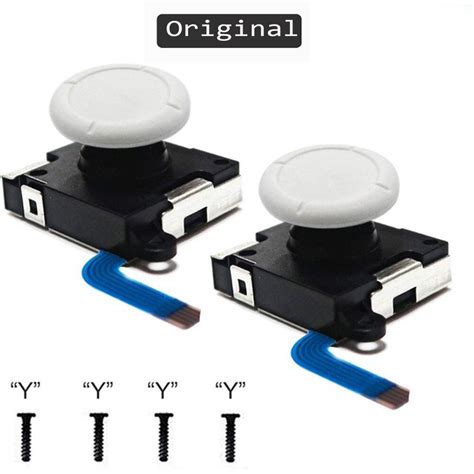
Replacing the Joystick Module
If cleaning and recalibration fail, the internal mechanism might be worn out. Replacement joystick modules are readily available online. This repair requires small precision screwdrivers, a spudger, and careful handling of delicate ribbon cables. Many video tutorials guide users through this process step-by-step. Be aware that opening your Joy-Con might void your warranty.
Warranty Service and Official Repairs
For many, especially those uncomfortable with self-repair, sending the Joy-Cons to Nintendo for official service is the safest and often most reliable option. Nintendo has acknowledged the drift issue and offers repair services.
Checking Warranty Status
First, determine if your Joy-Cons are still under warranty. The standard warranty period typically covers manufacturing defects. Even if out of warranty, Nintendo has often provided free repairs for drift, especially in regions where consumer protection laws are strong.
The Repair Process
Visit your regional Nintendo support website (e.g., Nintendo.com/repair for North America, or local equivalent). You’ll usually need to register your product and initiate a repair request. They will provide shipping instructions, and you’ll send your Joy-Cons in. The turnaround time can vary, but generally ranges from a few days to a couple of weeks.

Deciding Your Best Course of Action
Choosing between DIY and official repair depends on several factors: your comfort with electronics, the cost of replacement parts versus potential shipping fees, and your warranty status. DIY is quicker if successful but risks damaging the controller further or voiding a warranty. Official service offers peace of mind but requires waiting.
Preventing Future Drift
While not entirely preventable, minimizing strain on the joysticks by using them gently, keeping them clean, and occasionally calibrating them can potentially prolong their lifespan. Third-party stick covers might offer some protection against dust, though their primary role is grip.
Conclusion
Joy-Con drift remains a frustrating flaw in an otherwise fantastic console. Thankfully, users have viable options, whether they choose to roll up their sleeves and attempt a DIY fix or lean on Nintendo’s official support. Understanding both avenues empowers you to get back to gaming without phantom movements interrupting your adventures.


