How to fix Joy-Con drift without sending to Nintendo?
What is Joy-Con Drift and Why Does It Happen?
Joy-Con drift is a notorious problem for Nintendo Switch owners, characterized by unregistered or inaccurate input from the analog sticks, causing characters to move or menus to scroll without any physical interaction. This frustrating issue can severely impact gameplay and enjoyment. While Nintendo offers repair services, many users prefer a faster, more convenient, or cheaper DIY solution. Understanding the common causes—often dust and debris accumulation under the analog stick, or wear and tear of internal components—is the first step towards a successful fix.
Before You Start: Software Solutions
Sometimes, what appears to be drift is actually a software glitch or calibration issue. Before resorting to physical interventions, try these simple software-based fixes:
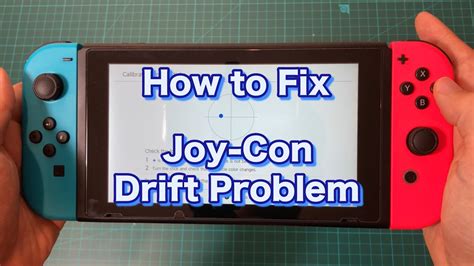
1. Calibrate Your Joy-Cons
- From the HOME Menu, select ‘System Settings’.
- Scroll down and select ‘Controllers and Sensors’.
- Select ‘Calibrate Control Sticks’.
- Follow the on-screen instructions, tilting the stick in a full circle and then pressing it down to calibrate the center point.
2. Update Joy-Con Firmware
Ensure your Joy-Cons are running the latest firmware. Nintendo occasionally releases updates that can resolve minor bugs or improve performance.
- From the HOME Menu, select ‘System Settings’.
- Scroll down and select ‘Controllers and Sensors’.
- Select ‘Update Controllers’.
- Follow the prompts to update your Joy-Cons.
DIY Cleaning Methods (Less Invasive)
If software fixes don’t work, dust and debris are often the culprits. These methods aim to clean the analog stick mechanism without requiring you to open the Joy-Con.
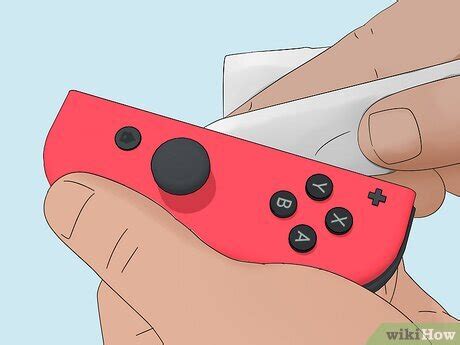
1. Using Compressed Air
A blast of compressed air can dislodge trapped particles.
- Hold the Joy-Con with the analog stick facing upwards.
- Gently lift the rubber skirt around the base of the analog stick.
- Using short, controlled bursts, spray compressed air directly into the gap.
- Wiggle the analog stick around while spraying to help dislodge any debris.
- Repeat for a few minutes, then re-test.
2. Using Electrical Contact Cleaner
For a more thorough cleaning, an electrical contact cleaner (like WD-40 Specialist Contact Cleaner) can be effective. Ensure you use a product specifically designed for electronics that evaporates quickly and leaves no residue.
- Turn off your Switch and remove the Joy-Con.
- Gently lift the rubber skirt around the base of the analog stick.
- Spray a tiny amount of the contact cleaner into the gap. You’ll only need a small drop.
- Immediately rotate and click the analog stick in all directions for about a minute to work the cleaner into the mechanism.
- Let the Joy-Con sit for 15-30 minutes to allow the cleaner to evaporate completely before re-attaching it to the Switch.
- Test the Joy-Con in the calibration menu.

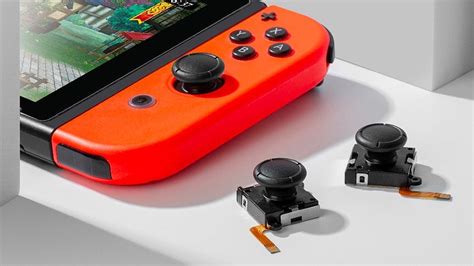
The More Invasive Fix: Replacing the Analog Stick Module
If cleaning doesn’t resolve the drift, the internal components of the analog stick may be worn out. Replacing the entire analog stick module is a more advanced DIY repair, but it’s often the most reliable long-term solution.
Important Considerations:
- Warranty: Opening your Joy-Con will likely void your warranty. Proceed with caution.
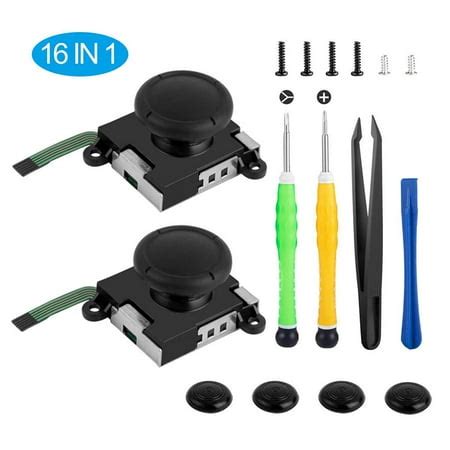
- Tools: You’ll need specific tools, including a Tri-wing (Y-tip) screwdriver, a Philips head screwdriver, plastic spudgers, tweezers, and a replacement analog stick module (available online).
- Caution: Be extremely careful with delicate ribbon cables and tiny screws.
General Steps for Replacement:
- Power Off: Ensure your Nintendo Switch console is completely powered off.
- Remove Screws: Use the Tri-wing screwdriver to remove the four screws on the back of the Joy-Con.
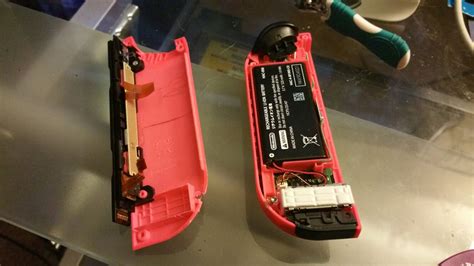
- Open Casing: Carefully pry open the Joy-Con casing using a plastic spudger. Be gentle, as there are ribbon cables connecting the two halves.
- Disconnect Battery: Using tweezers or a spudger, carefully disconnect the battery connector. Remove the battery.
- Remove Mid-Frame (if applicable): Some Joy-Cons have a small plastic mid-frame that might need to be removed (secured by a Philips screw).
- Disconnect Analog Stick Cable: Locate the analog stick module. Carefully flip up the small black tab on the ZIF connector holding the analog stick’s ribbon cable, then gently pull out the cable.
- Remove Old Stick: Unscrew the two Philips head screws holding the analog stick module in place. Lift out the old module.
- Install New Stick: Place the new analog stick module into position, secure it with the two Philips screws.
- Reconnect Cable: Carefully insert the new analog stick’s ribbon cable into its ZIF connector and push down the black tab to secure it.
- Reassemble: Reconnect the battery, replace the mid-frame (if removed), and carefully close the Joy-Con casing, ensuring no cables are pinched. Secure with the four Tri-wing screws.
Preventive Measures
Once you’ve fixed your Joy-Con, consider these tips to minimize the chances of drift reoccurring:
- Protective Cases: Use a protective case for your Switch and Joy-Cons, especially when traveling, to prevent dust and physical impact.
- Cleanliness: Keep your gaming area clean to reduce airborne dust.
- Careful Handling: Avoid being overly rough with the analog sticks, as excessive force can contribute to wear and tear.
Conclusion
While Joy-Con drift can be a major headache, there are several effective DIY methods to try before considering a professional repair or replacement. From simple software recalibrations and compressed air cleaning to the more involved analog stick replacement, these steps can help you get your Nintendo Switch back in top gaming condition. Always proceed with caution, especially when opening your Joy-Cons, and remember that replacement parts and repair guides are readily available online to assist you.