


How to fix Joy-Con drift on Nintendo Switch for better gameplay?
Understanding Joy-Con Drift: A Gamer’s Frustration
Joy-Con drift is a common and incredibly frustrating issue for Nintendo Switch owners. It’s when your character or camera moves on screen without any input from you, making precision gaming nearly impossible. This phantom movement often feels like a ghost is controlling your game, leading to missed shots, accidental falls, and overall diminished enjoyment. While Nintendo has acknowledged the issue and offers official repairs, many players prefer quicker, at-home solutions to get back into their games.
Before diving into fixes, it’s helpful to understand that drift typically occurs due to wear and tear on the analog stick’s internal components, where dust, debris, or degraded sensor contacts can cause misreadings. Fortunately, several methods, ranging from software adjustments to physical cleaning, can help mitigate or even eliminate this pesky problem.
Initial Software Solutions: First Steps to Fixing Drift
Sometimes, the issue isn’t hardware-related but rather a software glitch or calibration error. These are the quickest and easiest methods to try first:
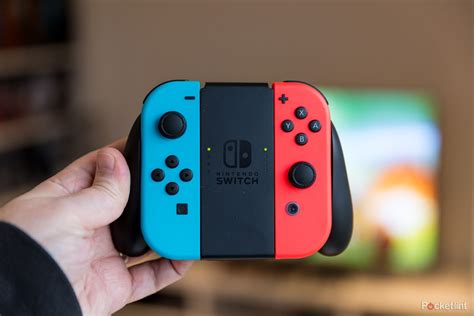
1. Recalibrate Your Joy-Cons
Nintendo Switch allows you to recalibrate your Joy-Cons, which can sometimes resolve minor drift issues. This process resets the controller’s understanding of its neutral position.
- From the HOME Menu, select System Settings.
- Scroll down the menu on the left and select Controllers and Sensors.
- Select Calibrate Control Sticks.
- Follow the on-screen instructions to select the problematic stick and complete the calibration.
2. Update System Software and Controller Firmware
Ensure both your Nintendo Switch console and Joy-Cons are running the latest software versions. Updates often include bug fixes and performance improvements that could address controller anomalies.
- For the console: System Settings > System > System Update.
- For controllers: System Settings > Controllers and Sensors > Update Controllers.

Cleaning Methods: Tackling Physical Debris
If software solutions don’t work, the problem is likely physical. Dust, lint, or other contaminants getting under the thumbstick’s skirt are common culprits.
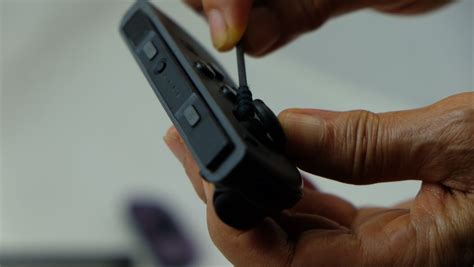
3. Compressed Air Cleaning
A simple blast of compressed air can dislodge debris. Hold the can upright and spray around the base of the analog stick while gently lifting the stick. Repeat this process around the entire circumference of the stick.
4. Using Electrical Contact Cleaner (Isopropyl Alcohol Recommended)
This is a more effective method for dislodging stubborn gunk or lubricating worn contacts. You’ll need a can of electrical contact cleaner (specifically designed for electronics, not WD-40) or high-percentage isopropyl alcohol (90% or higher) and a Q-tip or small applicator.
- Carefully lift the rubber skirt at the base of the problematic analog stick.
- Apply a tiny amount of contact cleaner or a few drops of isopropyl alcohol directly into the opening.
- Wiggle the stick in all directions for about 30 seconds to allow the cleaner to work its way in.
- Let the Joy-Con dry completely (at least 15-20 minutes) before testing.
- Repeat if necessary, but avoid over-saturating.
Advanced Solutions: When Cleaning Isn’t Enough
If the above methods fail, the internal components of the analog stick might be too worn or damaged for simple cleaning to fix.
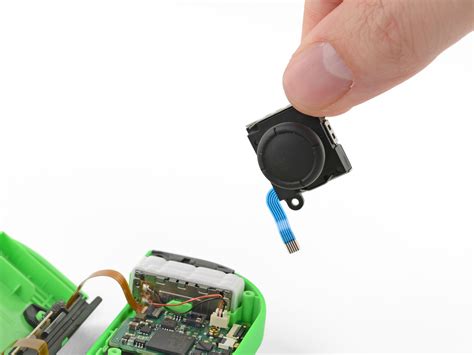
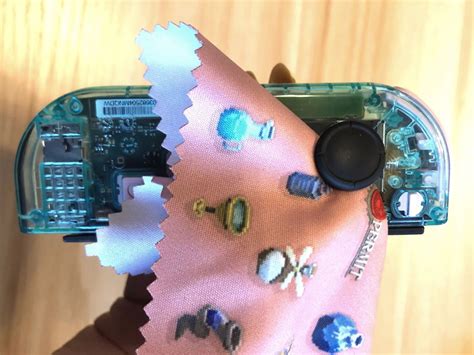
5. DIY Analog Stick Replacement
For the brave and technically inclined, replacing the analog stick module itself is a viable option. Replacement parts are readily available online, and numerous video tutorials guide you through the process. This involves opening the Joy-Con, disconnecting ribbon cables, and swapping out the old stick. Be aware that this process requires small tools and can void your warranty, so proceed with caution.
6. Official Nintendo Repair Service
If you’re uncomfortable with DIY repairs or your Joy-Cons are still under warranty, Nintendo offers official repair services. In some regions, they even repair Joy-Con drift free of charge, regardless of warranty status, due to the widespread nature of the issue. Check Nintendo’s official support website for your region’s specific policies and repair submission process.
Preventative Measures for Future Gameplay
While drift can sometimes feel inevitable, you can take steps to prolong your Joy-Cons’ life:
- Keep your Joy-Cons clean, especially around the analog stick bases.
- Store your Switch in a clean, dust-free environment.
- Handle your controllers with care; avoid excessive force or rough handling of the sticks.
Conclusion
Joy-Con drift can be a major roadblock to enjoying your Nintendo Switch games. By systematically trying these solutions, from simple recalibration and cleaning to more involved repairs, you stand a good chance of restoring your controllers to full functionality. Remember to always proceed with caution, especially when dealing with electronics, and don’t hesitate to seek professional help if you’re unsure. With a little effort, you can banish the drift and get back to precise, uninterrupted gameplay.


