


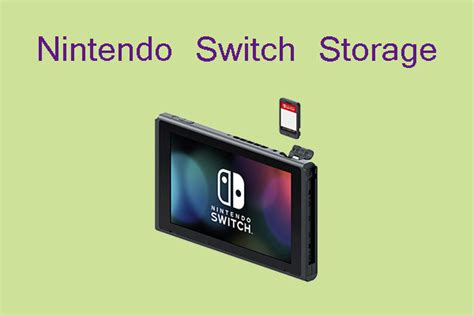
How to expand Nintendo Switch storage for big game downloads using micro SD cards?
The Ever-Growing Need for More Switch Storage
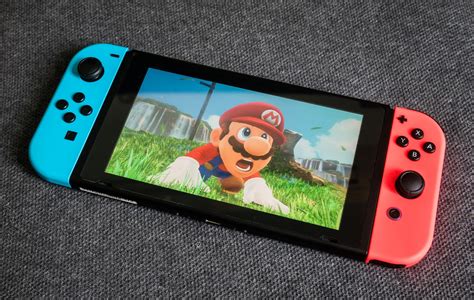
The Nintendo Switch, with its incredible library of first-party titles and burgeoning indie scene, quickly fills up its relatively modest 32GB (or 64GB for OLED models) of internal storage. For gamers who prefer digital downloads or regularly purchase large titles like The Legend of Zelda: Tears of the Kingdom or Pokémon Scarlet/Violet, expanding storage isn’t just a convenience; it’s a necessity. Fortunately, Nintendo made it incredibly easy to do so using readily available micro SD cards.
Understanding Micro SD Cards for Your Switch
Not all micro SD cards are created equal, and choosing the right one can impact your game loading times and overall experience. The Nintendo Switch supports UHS-I (Ultra High Speed Phase I) compatible micro SD cards. While UHS-II cards will technically work, they won’t offer their full speed benefits as the Switch only supports UHS-I speeds.
Key Specifications to Look For:
- Capacity: Micro SD cards come in various sizes, from 16GB up to 2TB. For most users, a 128GB, 256GB, or 512GB card offers a good balance of cost and capacity. Given the increasing size of modern games, going for at least 256GB is a smart long-term choice.
- Speed Class: Look for cards with a high “UHS Speed Class.” A U1 (Class 10) card offers a minimum write speed of 10MB/s, while U3 cards offer 30MB/s. Faster read speeds (e.g., 90MB/s or higher) are beneficial for quicker game loading. You might also see A1 or A2 ratings, which indicate better performance for running apps, beneficial for the Switch.
- Brand Reputation: Stick to reputable brands like SanDisk, Samsung, or Kingston to ensure reliability and avoid counterfeit cards.

Installing Your Micro SD Card: A Simple Process
Installing a micro SD card into your Nintendo Switch is straightforward and requires no tools. Here’s how:
- Power Off Your Switch: It’s crucial to completely power down your console, not just put it into sleep mode. Hold down the Power Button until the power options menu appears, then select “Power Options” and “Turn Off.”
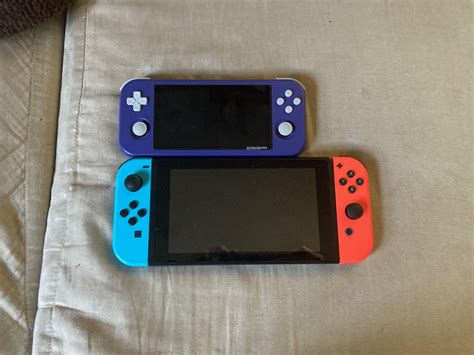
- Locate the Slot: The micro SD card slot is located on the underside of the kickstand on the back of the Switch console. Flip open the kickstand to reveal the small slot.
- Insert the Card: Gently slide the micro SD card into the slot with the label facing away from the console (towards the kickstand). Push it in until you hear a small click, indicating it’s securely in place.
- Close the Kickstand: Once the card is in, close the kickstand.
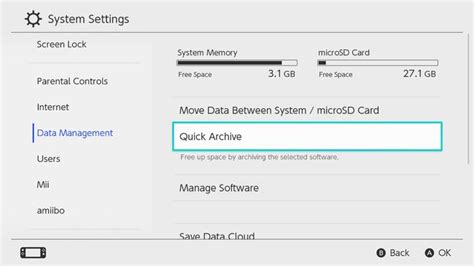
- Power On and Verify: Turn your Switch back on. The console should automatically recognize the new storage. You can verify this by going to System Settings > Data Management, where you’ll see the available space on both the system memory and the micro SD card.
Managing Your Game Data and Downloads
Once your micro SD card is installed, the Switch will prioritize downloading new games and updates directly to it, provided there’s enough space. However, you might want to manage existing data.
Transferring Existing Game Data
Unfortunately, Nintendo Switch doesn’t allow direct transfer of individual game data between system memory and the micro SD card. To move a game from internal storage to your SD card, you must:
- Archive the Software: Go to the game’s icon on the HOME Menu, press ‘+’, select ‘Manage Software’, then ‘Archive Software’. This deletes the game data but keeps your save data on the system memory.
- Redownload the Game: Re-download the game from the eShop or your user page. The Switch will now automatically install it to your micro SD card.
Remember, save data is always stored on the console’s internal memory and cannot be moved to the micro SD card. Nintendo Switch Online members can use the Cloud Save Data Backup feature for extra security.
Tips for Optimal Performance and Longevity
- Don’t Remove While Powered On: Always power off your Switch completely before inserting or removing the micro SD card to prevent data corruption.
- Avoid Counterfeit Cards: Purchase from reputable retailers to ensure you’re getting a genuine card with the advertised speed and capacity.
- Consider Future Needs: While a 128GB card might seem sufficient now, game sizes are only increasing. A larger card upfront can save you the hassle of upgrading later.
- Backup Save Data: While not on the SD card, regularly backing up your save data (via Nintendo Switch Online or manual transfers if supported) is always a good practice.
Conclusion
Expanding your Nintendo Switch storage with a micro SD card is a simple, cost-effective way to ensure you never run out of space for your digital game collection. By choosing the right card and following a few easy steps, you can significantly enhance your gaming experience, allowing you to download all the big titles and hidden gems without worry.


