Best Switch microSD card for games?
The Nintendo Switch, with its vast library of digital games and ever-growing updates, quickly fills up its internal 32GB or 64GB storage. To keep your gaming adventures uninterrupted and your favorite titles always accessible, investing in a high-quality microSD card is essential. But with so many options available, how do you choose the best one for your Switch?
Why Your Nintendo Switch Needs a MicroSD Card
While some games fit on the internal storage, many modern titles, especially AAA releases, require significant space. Digital downloads, game updates, DLC, screenshots, and video captures all consume precious storage. A microSD card provides the necessary room, ensuring you never have to delete a beloved game to make space for a new one. It’s an indispensable upgrade for any serious Switch gamer.
Key Factors When Choosing a Switch MicroSD Card
Not all microSD cards are created equal. Here’s what to look for to ensure optimal performance on your Nintendo Switch:
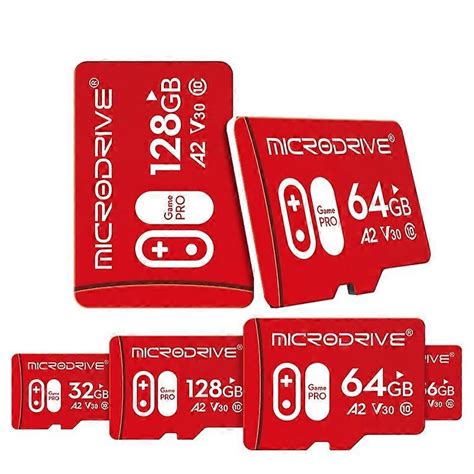
- Capacity: This is arguably the most critical factor. While 128GB is a good starting point, 256GB or 512GB offer more breathing room for a growing game library. If you download many games, 1TB might be worth considering.
- Speed Class: For gaming, you want a card that can load games quickly. Look for:
- UHS Speed Class 1 (U1) or Class 3 (U3): U3 offers faster minimum write speeds (30 MB/s vs. 10 MB/s for U1), which can translate to quicker game loading.
- Video Speed Class V10, V30, etc.: These also indicate minimum write speeds. V30 is equivalent to U3.
- Application Performance Class A1 or A2: A2 cards offer even better random read/write speeds, beneficial for running apps and games directly from the card. The Switch supports A1 and A2, but the performance difference might be negligible in real-world gaming for many users compared to a good U3 card.
- Brand Reputation: Stick to trusted brands like SanDisk, Samsung, Lexar, and Kingston to ensure reliability and genuine performance.
Top Recommended MicroSD Cards for Nintendo Switch
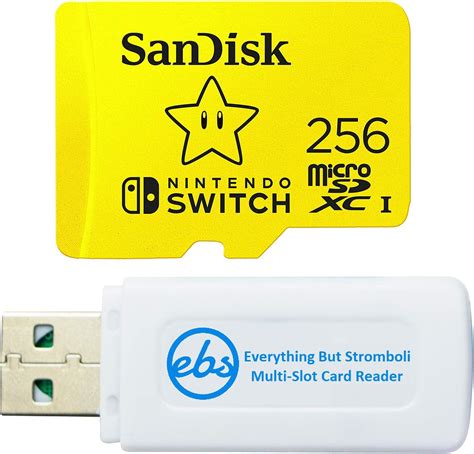
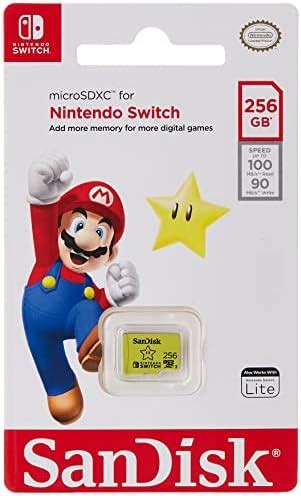
1. SanDisk microSDXC for Nintendo Switch (Licensed)
These cards are officially licensed by Nintendo and specifically designed for the Switch. They come in various capacities (64GB, 128GB, 256GB, 512GB, 1TB) and feature iconic Nintendo branding. They offer U3 speed class, ensuring fast game loading and smooth performance. They are a safe, reliable, and popular choice.
2. SanDisk Extreme/Ultra microSDXC
If you prefer a non-licensed option that often offers excellent value, SanDisk’s Extreme and Ultra lines are fantastic. The Extreme line, in particular, often boasts A2 and U3 ratings, providing top-tier speeds. The Ultra line (often A1, U1) is a more budget-friendly option that still performs well for most Switch gaming.
3. Samsung EVO Select/Plus microSDXC
Samsung’s EVO Select and EVO Plus cards are highly regarded for their reliability, excellent performance (typically U3 A2), and competitive pricing. They are a strong alternative to SanDisk and are widely available. Both are great choices for expanding your Switch storage without breaking the bank.
4. Lexar PLAY microSDXC
Lexar’s PLAY series is specifically marketed for gaming and offers U3 and A2 ratings at competitive prices. They are a solid choice for Switch owners looking for dedicated gaming performance.
How Much Capacity Do You Really Need?
- 128GB: Good for casual gamers or those who mostly buy physical game cartridges. Will fill up relatively quickly with digital-only titles.
- 256GB: A sweet spot for most gamers. Offers ample space for a decent digital library, updates, and DLC for several years.
- 512GB: Ideal for avid digital collectors or those who want to future-proof their storage. You’ll rarely worry about space.
- 1TB: For the ultimate digital library. If you download every major release and have a vast collection, this provides virtually unlimited space for the foreseeable future.

Installing Your MicroSD Card
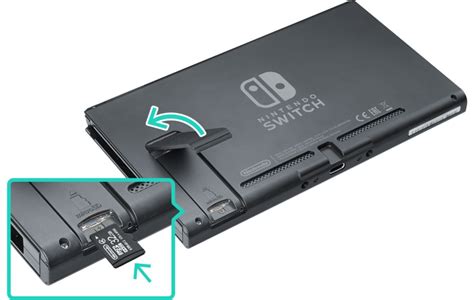
Installing a microSD card into your Nintendo Switch is straightforward:
- Turn off your Switch completely (not just sleep mode).
- Open the kickstand on the back of the console to reveal the microSD card slot.
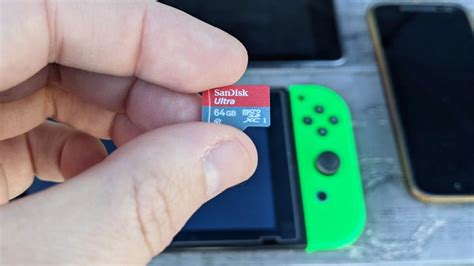
- Insert the microSD card with the label facing down until it clicks into place.
- Close the kickstand and power on your Switch.
The Switch will automatically format the card if needed. You can then move existing downloaded games to the card via System Settings > Data Management.
Conclusion: Power Up Your Switch Gaming
Upgrading your Nintendo Switch’s storage with a high-quality microSD card is one of the best investments you can make for your gaming experience. Whether you choose a licensed SanDisk card or a reliable option from Samsung or Lexar, prioritize a U3 speed class and the largest capacity your budget allows. Say goodbye to storage woes and hello to an expansive, uninterrupted world of Switch gaming!