


Fix Nintendo Switch Joy-Con drift: actionable guide?
Understanding and Tackling Joy-Con Drift
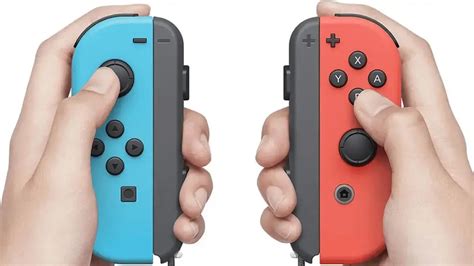
Nintendo Switch Joy-Con drift is a frustratingly common issue where the console registers movement even when the control stick isn’t being touched. This phantom input can ruin gameplay, making characters wander, cameras pan uncontrollably, or menus scroll on their own. While Nintendo has acknowledged the problem and offered repairs, many users prefer a quicker, more actionable solution they can perform at home. This guide will walk you through various methods, from simple software tweaks to hardware repairs, to get your Joy-Cons back in perfect working order.
Step 1: Calibrate Your Control Sticks
Before diving into more complex solutions, always start with the simplest fix: calibration. This process can sometimes reset the stick’s baseline, temporarily or permanently resolving minor drift issues. It requires no tools and can be done directly from your Switch’s system settings.
- From the HOME Menu, select System Settings.
- Scroll down the left-hand menu and select Controllers and Sensors.
- Select Calibrate Control Sticks.
- Tilt the problematic control stick in the direction of the drift (if applicable), then follow the on-screen instructions to test and recalibrate.
If calibration doesn’t resolve the issue, or if the drift quickly returns, it’s time to consider a physical intervention.

Step 2: Clean Beneath the Control Stick
Often, dust, debris, or other contaminants can accumulate under the rubber skirt of the control stick, interfering with the sensor. A good cleaning can often work wonders. For this, you’ll need either compressed air or a specialized electronic contact cleaner (like WD-40 Specialist Contact Cleaner, not regular WD-40).
Using Compressed Air:
- Turn off your Nintendo Switch and detach the Joy-Con.
- Hold the Joy-Con upside down.
- Gently lift the rubber skirt at the base of the problematic control stick. You can use a thin, non-abrasive tool like a plastic spudger or even your fingernail.
- Spray short bursts of compressed air into the opening, moving the control stick around to ensure the air reaches all areas.
- Repeat this process around the entire base of the stick.
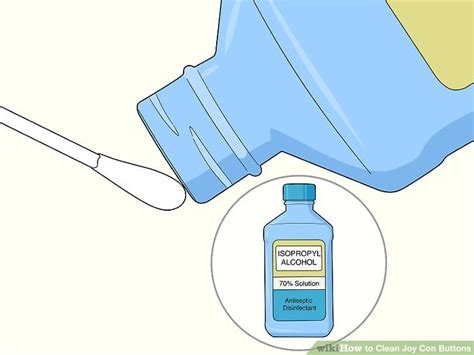
Using Electronic Contact Cleaner:
- Turn off your Nintendo Switch and detach the Joy-Con.
- Hold the Joy-Con upside down to prevent liquid from flowing into the Joy-Con’s interior circuit board.
- Lift the rubber skirt at the base of the problematic control stick.
- Apply a very small amount of electronic contact cleaner (a tiny drop or a short spray) directly into the opening.
- Rotate the stick vigorously in all directions for about 30 seconds to work the cleaner in.
- Allow the Joy-Con to dry completely for at least 15-30 minutes before reattaching it to the console or turning it on.
After cleaning, recalibrate your control sticks again to see if the drift has been resolved.
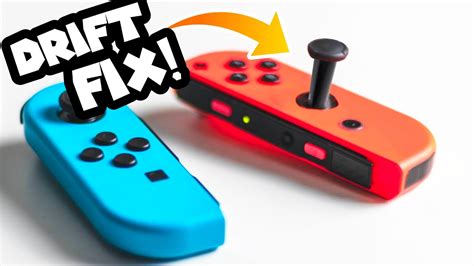
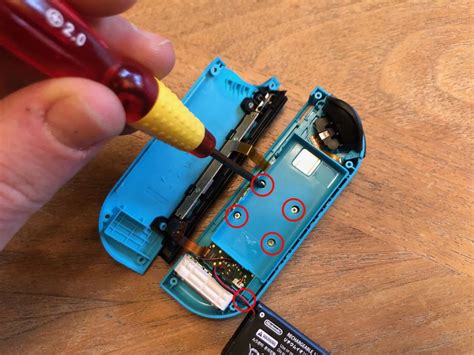
Step 3: Replace the Joystick Module
If calibration and cleaning don’t work, the internal joystick module is likely worn out and needs replacement. This is a more advanced DIY fix but is highly effective and significantly cheaper than buying new Joy-Cons. You’ll need specific tools and a replacement joystick module kit (readily available online).
Tools Required:
- Y00 Tri-wing screwdriver
- Phillips #00 screwdriver
- Plastic prying tools (spudgers)
- Tweezers
- Replacement joystick module(s)
General Steps (Requires Caution):
- Power off your Switch and detach the Joy-Con.
- Carefully remove the four Y00 screws on the back of the Joy-Con.
- Gently pry open the Joy-Con casing, being mindful of ribbon cables connecting the two halves.
- Disconnect the battery and remove it from its compartment.
- Unscrew any Phillips screws holding internal components (like the middle frame) in place.
- Locate the faulty joystick module.
- Carefully disconnect the ribbon cable connecting the joystick module to the main board.
- Remove the screws holding the joystick module in place and replace it with a new one.
- Reconnect the ribbon cable, reassemble all components in reverse order, ensuring all screws and cables are properly secured.
- Charge and test your Joy-Con, performing a final calibration.
Many video tutorials are available online that can provide visual guidance for this delicate process. Proceed with caution, as improper handling can damage the Joy-Con.
Official Repair or Replacement
If you’re uncomfortable performing a DIY repair, or if the issue persists after your attempts, contacting Nintendo support is your next best step. Depending on your region and warranty status, Nintendo may offer a free repair service for Joy-Con drift, as it is a widely acknowledged defect. Alternatively, purchasing a new pair of Joy-Cons is always an option, though it’s the most expensive solution.
Preventing Future Drift
While drift can be an inherent design flaw, some practices might help prolong the life of your Joy-Cons:
- Keep them clean: Regularly wipe down your Joy-Cons to prevent dust and grime buildup.
- Store properly: Avoid leaving Joy-Cons in dusty environments or where they might be subjected to pressure.
- Gentle use: While they’re designed for gaming, avoiding excessive force or impacts can reduce wear and tear.
Joy-Con drift is a common nuisance, but with the right approach, it’s often a fixable one. Whether you opt for a quick calibration, a thorough cleaning, or a complete module replacement, this guide provides the actionable steps you need to restore precision to your Nintendo Switch gaming.