

Joy-Con drift fixes: DIY methods vs. Nintendo repair options?

Tackling the Frustration of Joy-Con Drift
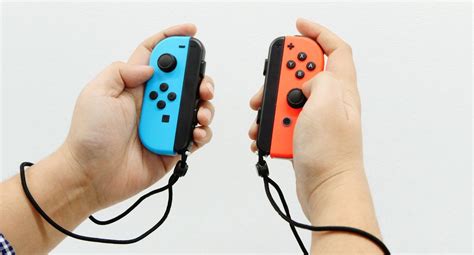
Joy-Con drift is a prevalent and frustrating issue that has plagued many Nintendo Switch owners since the console’s launch. Characterized by unintended inputs from the analog sticks, even when they aren’t being touched, drift can render games unplayable and significantly diminish the gaming experience. While Nintendo has acknowledged the problem, users are often left wondering what their best course of action is. This guide delves into the two primary avenues for resolution: attempting a do-it-yourself (DIY) fix or opting for Nintendo’s official repair service.
Understanding Joy-Con Drift: The Root Cause
At its core, Joy-Con drift is often attributed to wear and tear on the internal components of the analog stick mechanisms. Over time, dust, debris, or slight deformities in the carbon contacts can interfere with the signals, leading to erroneous inputs. Before attempting any fix, it’s crucial to understand that this isn’t just a software glitch but usually a hardware degradation issue.
Option 1: The DIY Approach
For those with a bit of technical confidence and a desire to save money and time, a DIY repair can be an attractive option. There are several methods, ranging from simple cleaning to more complex component replacement.
Pros of DIY Repair:
- Cost-Effective: Often only requires purchasing inexpensive tools or replacement parts.
- Immediate Satisfaction: You can attempt the fix as soon as you have the necessary items.
- Learning Experience: Provides an opportunity to understand your hardware better.
Cons of DIY Repair:
- Vaporized Warranty: Opening your Joy-Cons will almost certainly void any remaining warranty.
- Risk of Further Damage: Incorrect procedures can permanently damage the controller.
- Requires Tools & Skill: You’ll need specialized screwdrivers and a steady hand.
- Temporary Solution: Some DIY fixes might only temporarily alleviate the issue.
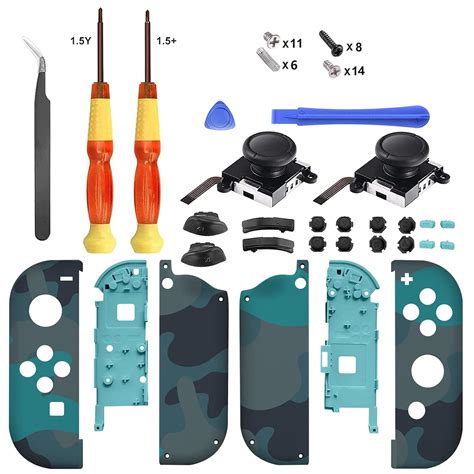
Common DIY Methods:
- Calibration & Firmware Update: Always the first step. Ensure your Joy-Cons are calibrated via the Switch’s settings and that your console firmware is up to date. This sometimes resolves minor software-related quirks.
- Cleaning Under the Skirt: Using compressed air or specialized electronic contact cleaner (like isopropyl alcohol 99% or electrical contact cleaner) to clean around the base of the analog stick, under the rubber skirt. This aims to dislodge dust and debris.
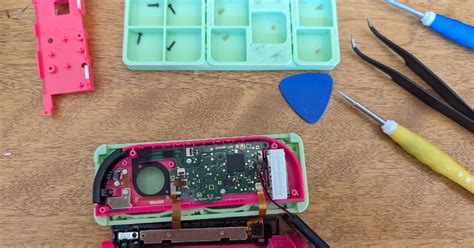
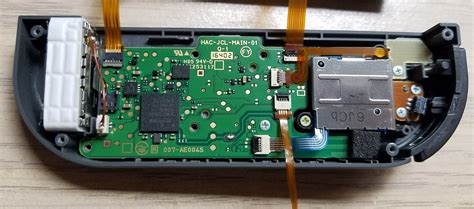
- Replacing the Analog Stick Module: This is the most involved DIY fix, requiring you to open the Joy-Con, disconnect fragile ribbon cables, and swap out the faulty analog stick with a new one. Replacement modules are readily available online.
Option 2: Official Nintendo Repair Service
When in doubt, or if DIY isn’t your forte, sending your Joy-Cons to Nintendo for official repair is often the safest and most reliable route.
Pros of Nintendo Repair:
- Professional Service: Repaired by trained technicians.
- Warranty Coverage: If your Joy-Cons are still under warranty, the repair may be free. Even out-of-warranty repairs might be offered for free in some regions due to ongoing lawsuits.
- Reliable Parts: Nintendo uses genuine parts, ensuring longevity and quality.
- Peace of Mind: No risk of personal damage to the controller.
Cons of Nintendo Repair:
- Time-Consuming: The process involves shipping, repair, and return shipping, which can take several weeks.
- Potential Cost: If not covered by warranty or regional policies, the repair can incur a fee.
- Inconvenience: You’ll be without your Joy-Cons for a period.

The Nintendo Repair Process:
Typically, you’ll need to visit Nintendo’s official support website for your region, navigate to the repair section, and follow the instructions to initiate a repair request. This usually involves filling out a form, printing a shipping label, and sending your Joy-Cons to a service center. Keep detailed records of your submission and tracking numbers.
Making the Right Choice for Your Joy-Cons
The decision between DIY and official repair hinges on several factors:
- Warranty Status: If under warranty, Nintendo repair is almost always the better option.
- Comfort with Electronics: Are you comfortable disassembling small, delicate electronics?
- Budget: Can you afford potential repair fees from Nintendo, or do you prefer the lower cost of DIY parts?
- Time: Can you wait a few weeks for Nintendo, or do you need a quicker fix?
Conclusion
Joy-Con drift is undoubtedly a nuisance, but thankfully, solutions exist. For most users, especially if your Joy-Cons are still under warranty, leveraging Nintendo’s official repair service offers the safest and most reliable path to resolution. However, for the technically inclined or those seeking a quicker, potentially cheaper fix, DIY methods can be a viable alternative. Whichever route you choose, restoring your Joy-Cons to full functionality will undoubtedly enhance your Nintendo Switch gaming experience.