


How to expand Nintendo Switch storage for a huge game library?
The Nintendo Switch is a fantastic console, but its 32GB (or 64GB for OLED) internal storage fills up surprisingly fast, especially if you love digital games. For avid gamers building a huge library, running out of space is a common frustration. Fortunately, expanding your Switch’s storage is straightforward and essential for keeping all your favorite titles ready to play.
Why Your Nintendo Switch Needs More Storage
Most modern games, even on the Switch, can range from a few gigabytes to tens of gigabytes. With system updates, DLC, and screenshots also taking up space, the internal memory quickly becomes inadequate. Expanding storage ensures you won’t have to constantly delete and re-download games, saving you time and hassle.
The Best Solution: MicroSD Cards
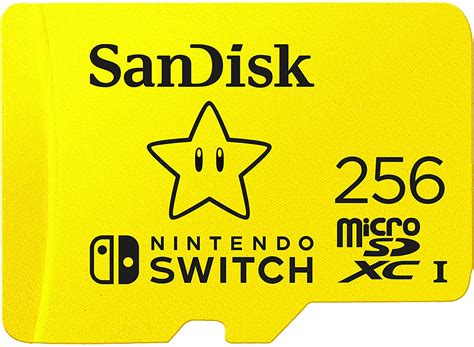
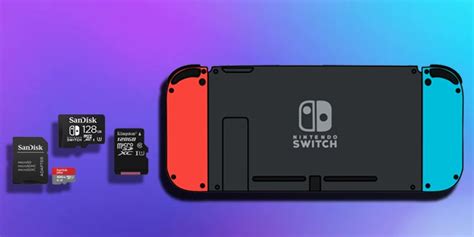
The Nintendo Switch supports microSD cards as its primary method of storage expansion. Specifically, it uses microSDHC and microSDXC cards. These tiny cards slot neatly into a dedicated port under the kickstand.
Choosing the Right MicroSD Card
- Capacity: MicroSD cards come in various sizes, from 32GB to 2TB. For a huge game library, aim for at least 256GB, but 512GB or even 1TB will offer far more future-proofing. Remember, the Switch currently supports up to 2TB, though 1TB is the largest commonly available and affordable option.
- Speed: Look for cards with a “UHS-I” speed class. While UHS-II cards exist, the Switch doesn’t take advantage of their faster speeds, so investing in one would be overkill. Focus on cards with a U1 or U3 speed rating. A U3 card will generally offer better performance, especially for larger games. Popular brands like SanDisk, Samsung, and Lexar are reliable choices.
How to Install a MicroSD Card
Installing a microSD card is incredibly simple:
- Power Off Your Switch: It’s best practice to completely power off your Nintendo Switch before inserting or removing a microSD card. Hold down the Power button on the console, then select “Power Options” > “Turn Off.”
- Locate the Slot: Flip out the kickstand on the back of your Switch console. You’ll see a small slot for the microSD card.
- Insert the Card: Gently push the microSD card into the slot with the label facing the same direction as the Switch’s screen, until you hear a click.
- Power On: Close the kickstand and power on your Switch. The system should automatically recognize the new storage.
Any new game downloads or software updates will now automatically save to the microSD card.
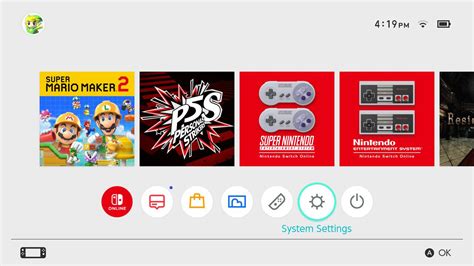
Managing Your Game Library and Data
Moving Games Between Storage
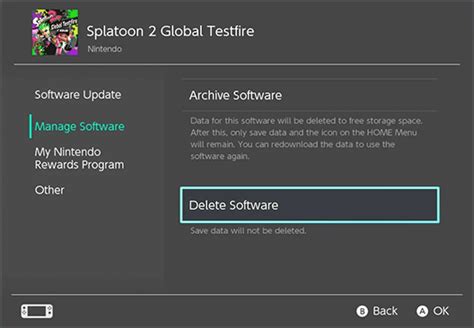
Unfortunately, the Nintendo Switch doesn’t have a direct “move” function for games between internal storage and the microSD card. If you want to move a game from internal memory to the card, you’ll need to “archive” it and then re-download it. When re-downloading, the Switch will prioritize saving to the microSD card if one is present.
- To Archive: From the HOME Menu, highlight the game icon, press (+) or (-), then select “Manage Software” > “Archive Software.”
- Re-download: Select the game icon from the HOME Menu, and it will prompt you to re-download.
Digital vs. Physical Games
While physical game cartridges save most of their data on the cart itself, many still require significant downloads for updates, patches, and DLC. These downloads will also consume storage space on your microSD card or internal memory.
Nintendo Switch Online Cloud Saves
Subscribing to Nintendo Switch Online provides access to cloud saves for most games. This is crucial for backing up your game progress, especially if you ever need to replace your console or microSD card. Cloud saves are separate from game installation data and don’t take up your device’s storage.
![How To Delete Games On Nintendo Switch [The right way!] - Alvaro Trigo ...](/images/aHR0cHM6Ly90czMubW0uYmluZy5uZXQvdGg/aWQ9T0lQLlZYVEMxaFVId3NkcngzWTl5ZENDaVFIYUU4JnBpZD0xNS4x.webp)
Transferring Data to a New MicroSD Card
If you eventually fill up your current microSD card and want to upgrade to an even larger one, you can easily transfer your data. You’ll need a computer with a microSD card reader:
- Power Off Your Switch and remove the old microSD card.
- Insert Old Card into PC: Copy all the data from the old microSD card to a temporary folder on your computer.
- Format New Card (Optional but Recommended): Insert the new, larger microSD card into your PC. Ensure it’s formatted to FAT32 or exFAT. The Switch will format it for you if it’s not, but it’s good to be consistent.
- Transfer Data to New Card: Copy all the data from the temporary folder on your PC to the root directory of the new microSD card.
- Insert New Card into Switch: Power on your Switch, and it should recognize all your games and data on the new card.
Conclusion
Expanding your Nintendo Switch storage with a high-capacity, fast microSD card is the most effective way to manage a huge game library. It eliminates the constant struggle of deleting games, allows for seamless updates, and ensures your digital adventures are always accessible. With a little planning and the right card, you can transform your Switch into a gaming powerhouse that holds all your favorite titles without compromise.