


How do I maximize Nintendo Switch storage for digital games with an SD card?
The Nintendo Switch, a beloved hybrid console, offers incredible versatility for gaming on the go or at home. However, its internal storage of 32GB (or 64GB for the OLED model) quickly fills up, especially for players who prefer downloading digital games. With many modern titles easily exceeding 10-20GB, an SD card isn’t just an accessory; it’s an essential upgrade for any serious digital game collector.
Understanding Nintendo Switch Storage Needs
While game saves and system data are typically stored on the internal memory, downloaded digital games, updates, and DLC are often the biggest culprits for consuming space. A single AAA title like The Legend of Zelda: Tears of the Kingdom can take up over 16GB, and many others, like Pokémon Scarlet/Violet, are similarly demanding. Without an external storage solution, you’ll constantly find yourself deleting games to make room for new ones, which can be a frustrating cycle.
Choosing the Right SD Card: Capacity and Speed
When selecting an SD card for your Switch, you’ll need a microSD card. The Switch supports capacities up to 2TB, although 1TB is currently the largest widely available and practical option. Consider your gaming habits: a casual player might be fine with 128GB or 256GB, but avid digital collectors should aim for 512GB or 1TB to future-proof their console.
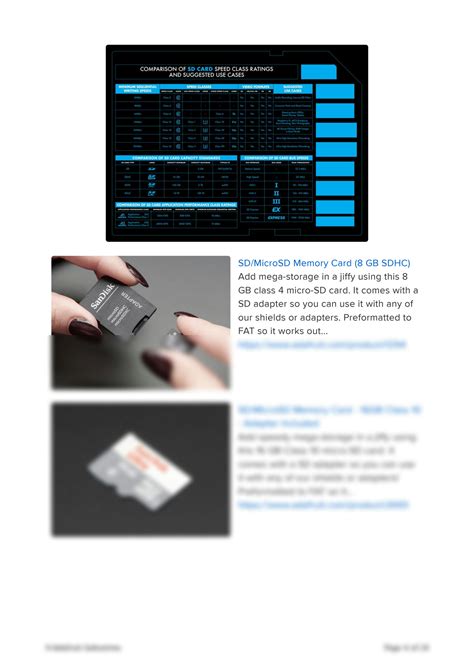
Speed is also crucial for smooth gameplay and faster load times. Look for cards with a UHS-I (Ultra High Speed Phase I) rating, which is the maximum supported by the Switch. Specifically, a speed class of U3 and an Application Performance Class of A1 or A2 are highly recommended. These ratings ensure quick read and write speeds, minimizing waiting times when launching games or downloading updates.
Installing and Formatting Your SD Card
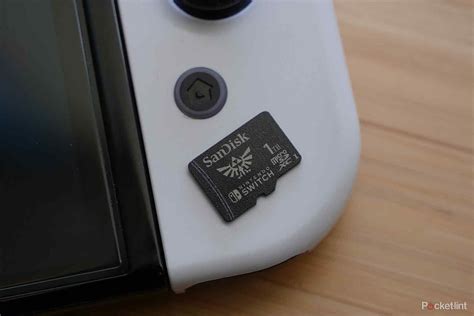
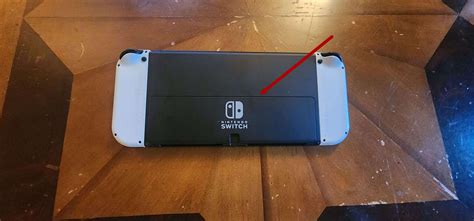
Installing an SD card is straightforward. Power off your Nintendo Switch completely (not just sleep mode). Locate the microSD card slot on the console (under the kickstand for the original and OLED models, or on the bottom edge for the Lite). Insert the card firmly until it clicks into place. Power your Switch back on, and the console will automatically detect and format the card, making it ready for use. If it doesn’t format automatically, you can do so manually via System Settings > System > Formatting Options > Format microSD Card.
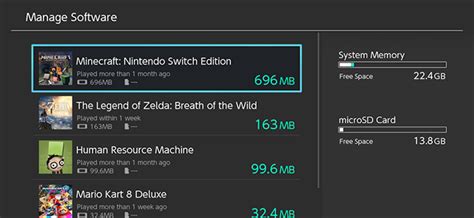
Managing Your Digital Game Library
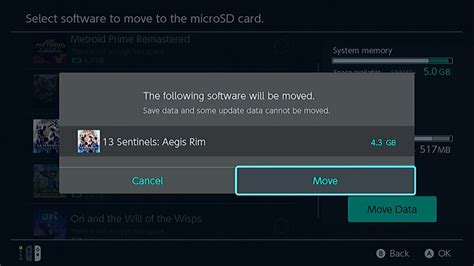
Once your SD card is installed, all new digital game downloads, updates, and DLC will automatically save to it by default, prioritizing the SD card over the internal memory. For games already installed on your internal memory that you wish to move, you cannot directly transfer them. Instead, you’ll need to archive the game (which deletes the game data but keeps save data) from the internal memory and then re-download it. When re-downloading, the system will save it to the SD card.
To archive a game: navigate to the game icon on the Home menu, press the ‘+’ button, select ‘Manage Software’ > ‘Archive Software’. To delete a game completely (including save data, if not backed up to the cloud): select ‘Delete Software’. Remember that save data is typically stored internally or via Nintendo Switch Online cloud saves and is not affected by archiving/deleting game software from the SD card.
Best Practices for Maximizing Storage
- Choose Wisely: Opt for the largest capacity microSD card you can reasonably afford, ideally 512GB or 1TB, especially if you foresee a large digital library.
- Speed Matters: Prioritize UHS-I U3 A1/A2 cards for optimal performance.
- Archive Regularly: If you’re not actively playing a game, archive it. You can always re-download it later, and this frees up space without losing your precious save files.
- Cloud Saves: Utilize Nintendo Switch Online’s cloud save feature to back up your game saves, giving you peace of mind if you ever need to reformat or replace your console/SD card.
- Physical vs. Digital: Consider buying physical cartridges for games you play frequently or that have massive file sizes. Physical games use less internal/SD card space as the core game data is read from the cartridge, though updates and DLC will still download.

By following these steps, you can significantly expand your Nintendo Switch’s storage, ensuring you have ample space for all your digital adventures without the constant hassle of managing limited internal memory. A well-chosen SD card transforms your Switch experience, letting you focus on gaming, not on storage warnings.


